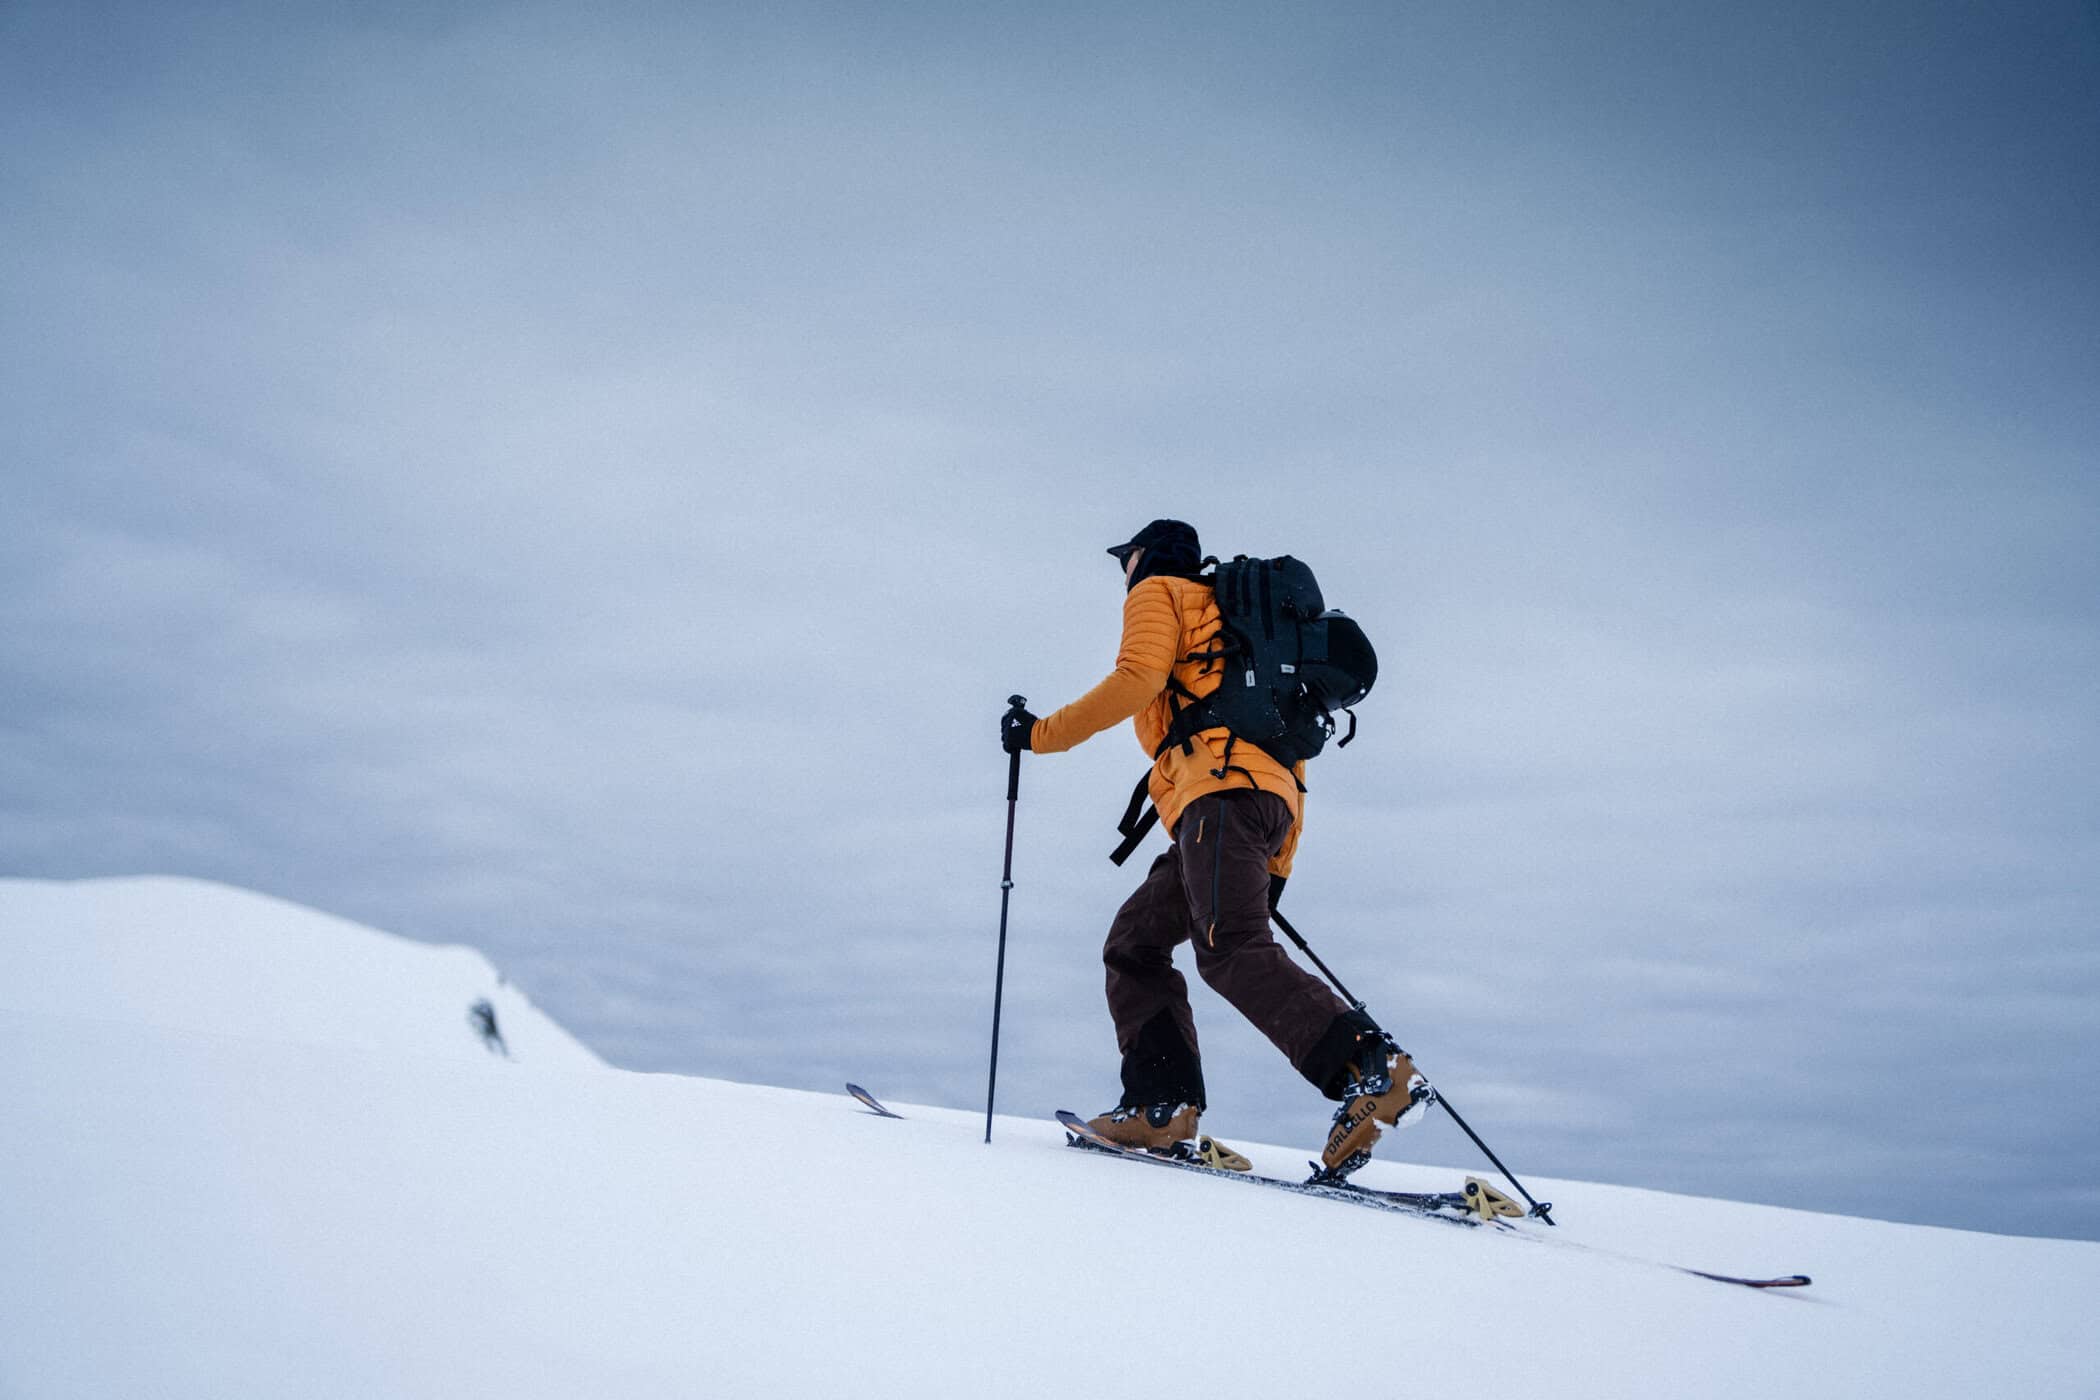
With ski season fast approaching, it’s time to pick up that pair of bindings you’ve been eyeing all year. But hold up—as you eagerly unbox them and daydream about fresh powder, don’t forget to install and adjust your new bindings correctly.
Now, we get it—the temptation to DIY is real. But here at Altitude Sports, we’re waving the caution flag. In this post, we’ll spill the beans on why trusting certified experts for these tasks is a game-changer, impacting not just your safety but also your performance on the slopes.
We also shine a light on why accurate DIN adjustments matter and why letting the pros handle it is the secret sauce for a top-notch skiing experience. So, whether you’re a seasoned shredder or gearing up for your first ride, let’s make this winter one to remember!
If you’re experienced and have the right tools on hand, go ahead and skip to our section on mounting and adjusting your own ski bindings!

Mounting and Adjusting Your Own Bindings Can Be Dangerous
While the allure of taking matters into your own hands might be tempting, tackling the mounting and adjustment of your ski bindings without professional expertise can lead to a downhill spiral of issues. Here’s a rundown on why going the solo route can be more hazardous than hitting a black diamond slope without the proper gear.
Importance of Proper Installation
Proper installation of ski bindings is essential to ensure a safe and enjoyable skiing experience. Incorrectly mounted bindings can lead to a range of problems, including poor performance, reduced control, and increased risk of injury. A well-installed binding system allows for smooth, efficient skiing and helps to prevent accidents.
Risks of Improper Installation
Improperly installed ski bindings can pose significant risks to skiers. If the bindings are not mounted correctly, they may not function as intended, leading to a loss of control or even a fall. Additionally, poorly installed bindings can cause damage to the ski or boot, resulting in costly repairs or replacement. In extreme cases, improper installation can lead to serious injury or even fatalities.
Safety First, Always
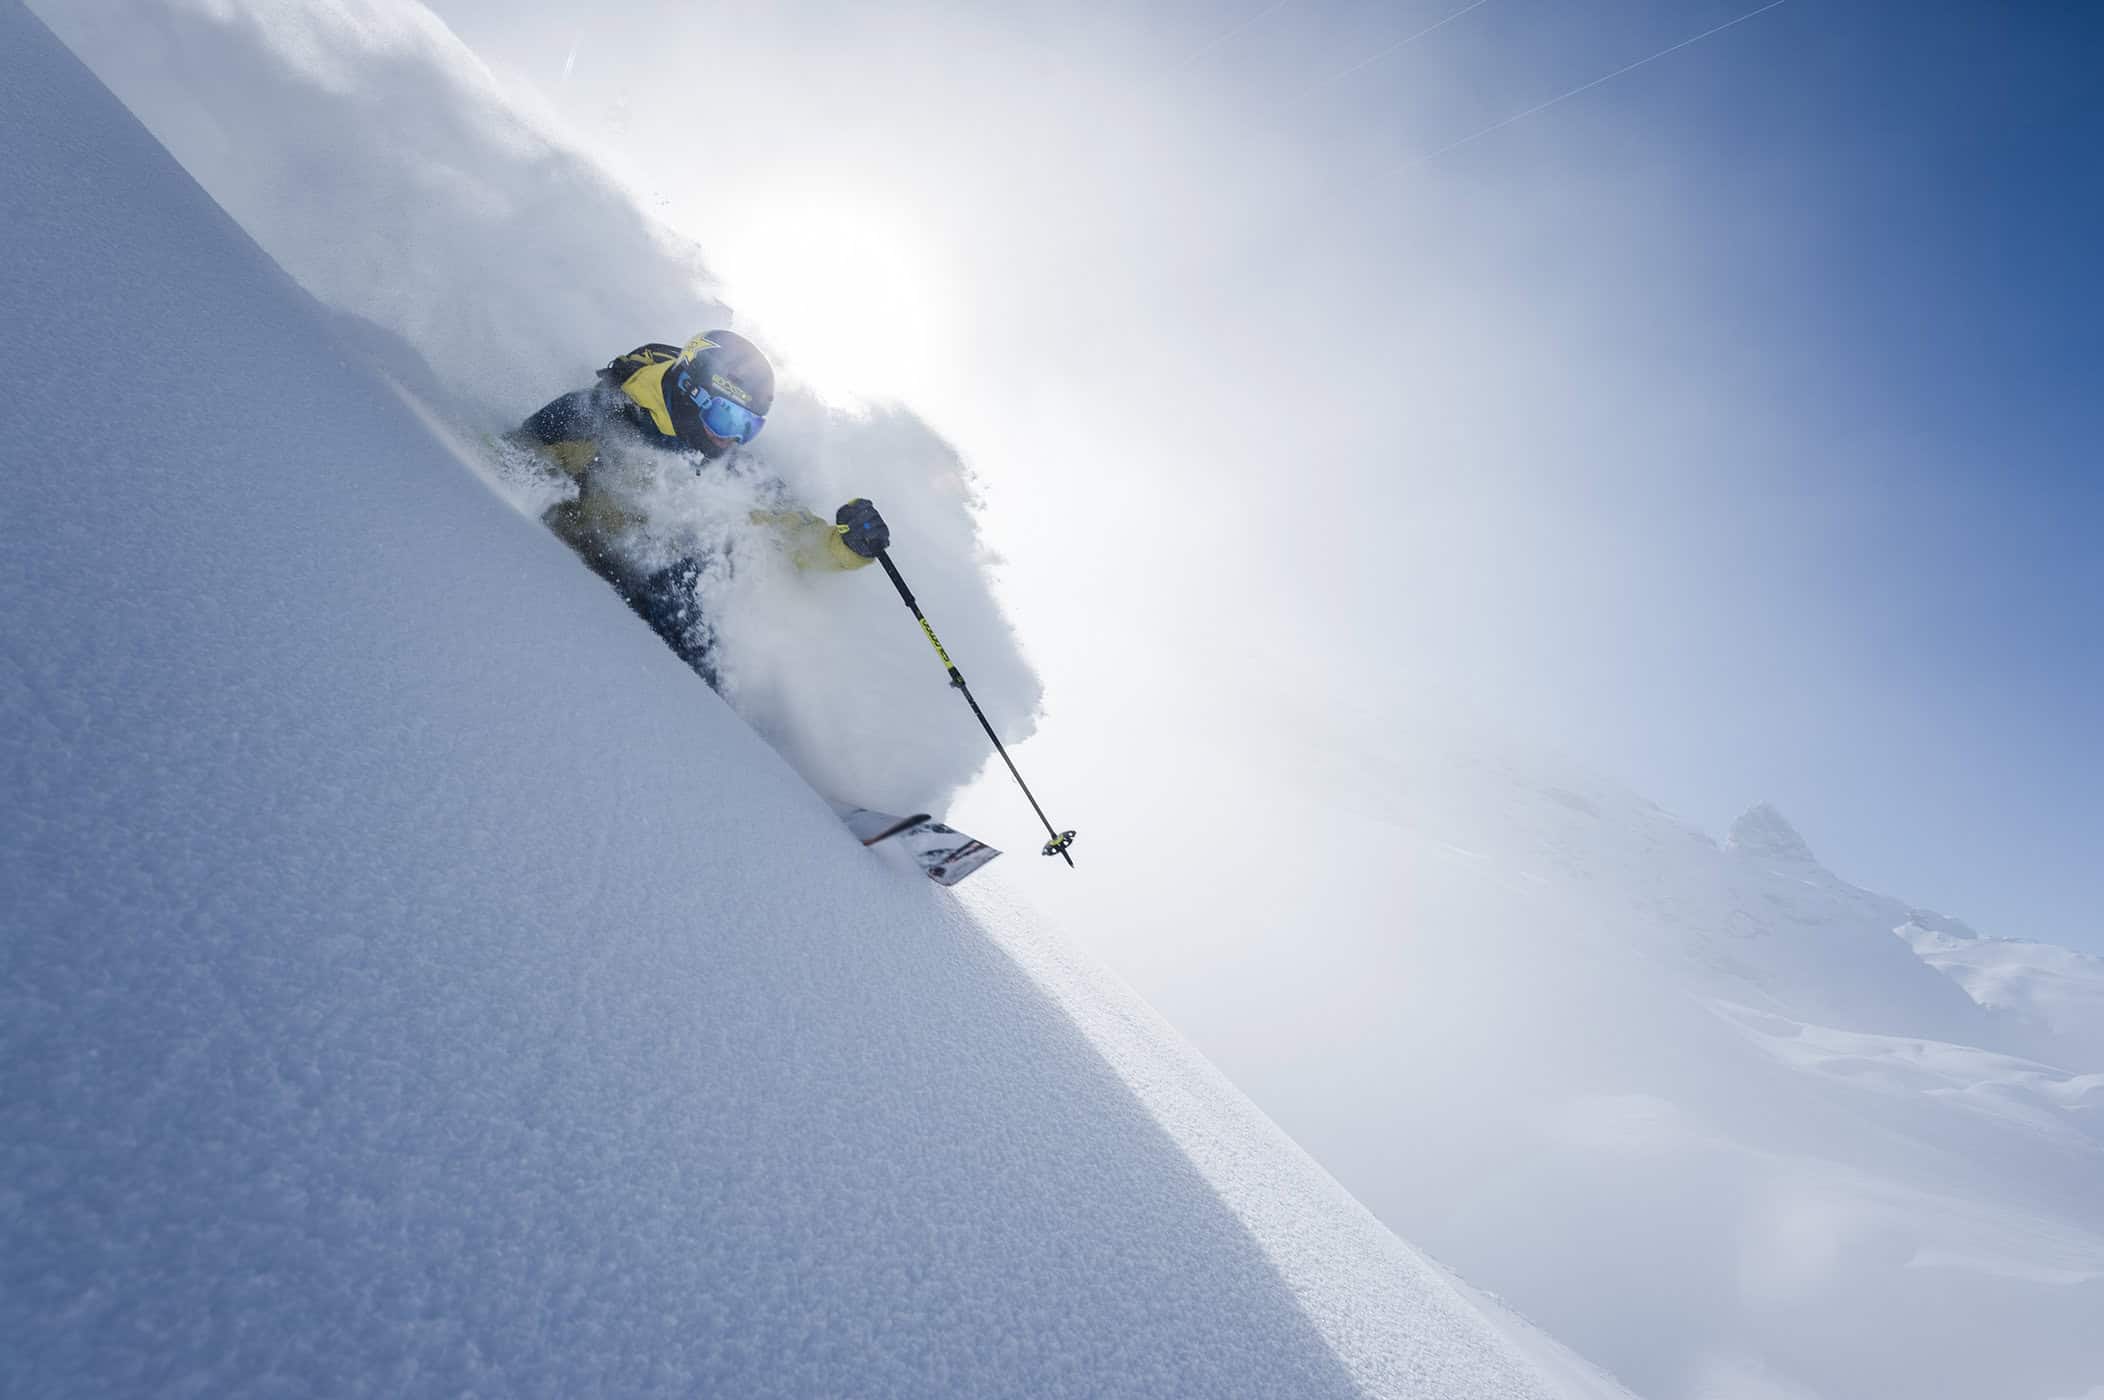
Ski bindings are not just about strapping your boots to your skis—they play a pivotal role in ensuring your safety on the slopes. Incorrectly mounted or adjusted bindings can lead to serious injuries, as they may not release as intended during a fall, collision, or sudden stop. This could result in injuries like ACL tears, fractures, sprains, and potentially much worse.
The Precision Predicament
Achieving the right balance between a snug fit and a safe release is a delicate art. Certified technicians undergo extensive training to understand the nuances of binding adjustment, taking into account factors like skier weight, ability, and skiing style. Attempting this without the proper knowledge, including ensuring that you drill straight to maintain precision and stability, can result in settings that compromise both safety and performance.
DIN Dilemmas
The term “DIN” isn’t just a buzzword; it stands for Deutsches Institut für Normung, the German Institute for Standardization. DIN settings on your bindings determine the force required for the bindings to release. Merely guessing these settings is like trying to navigate uncharted territory blindfolded.
One Size Doesn’t Fit All
Skiers come in all shapes, sizes, and skill levels, so off-the-shelf solutions might not cut it when it comes to personalised adjustments. Certified technicians tailor the binding setup to your unique profile, ensuring a custom fit that maximises security and comfort.
Legal Implications
Here’s a sobering thought: In the unfortunate event of an accident, self-adjusted bindings might not just jeopardise your physical well-being—they could also leave you legally liable. Professional adjustments ensure that you’ve taken the necessary precautions to minimise risks, providing a safety net both on and off the slopes.
Skis with integrated bindings :
How to Find a Certified Ski Binding Technician
Now that we’ve established the risks of DIY binding adjustments, the logical next step is finding a certified ski binding technician. Here’s a roadmap to help you locate the right expert for the job.
Reputable Ski Shops
Start your search at established ski shops known for their expertise and quality service. These shops often employ certified technicians with the knowledge and experience to fine-tune your bindings.
Certification Credentials
Look for technicians with certifications from recognized organisations, such as the International Ski Federation (FIS) or the Binding Testing Institute (TÜV). These certifications demonstrate a commitment to professional standards and ongoing education in the field.
Ask for Recommendations
Turn to the skiing community for advice. Friends, fellow skiers, or online forums can be valuable resources for recommendations based on personal experiences. Hearing about someone’s positive encounter with a certified technician can give you confidence in your choice.
Check Online Reviews
In the digital age, customer reviews generally provide insights into the quality of service. Check online platforms for reviews of local ski shops and technicians.
Inquire about Experience
When reaching out to a potential technician, don’t hesitate to ask about their experience in the field. A seasoned professional is likely to have encountered a variety of binding systems and skiing styles, making them better equipped to handle your specific needs.
Attend Skiing Events
Local skiing events or competitions tend to attract certified technicians who offer their services on-site. Take advantage of these opportunities to meet professionals, discuss your requirements, and schedule binding adjustments.

What do Professionals Need for Optimal Installation and Adjustment?
Collaboration is key when it comes to achieving the perfect binding setup. To ensure that technicians can fine-tune your gear for the ultimate performance and safety, there’s a few things they’re going to need from you.
Accurate Information
Provide precise details about your skiing style, ability level, and any relevant health considerations. This info forms the foundation for personalised adjustments that cater to your specific needs on the slopes.
Weight and Boot Information
Your body weight and the sole length of your ski boots are key factors in determining DIN settings. Be ready to share this info with the technician, enabling them to make adjustments that align with your unique profile.
Honesty About Skiing Habits
Share insights into your typical skiing terrain, whether you prefer groomed slopes, backcountry adventures, or terrain parks. This helps technicians understand the demands your bindings will face.
Communication of Concerns
If you’ve experienced discomfort or issues with your existing setup, don’t hesitate to inform the technician. Whether it’s unexpected releases, difficulty engaging or disengaging bindings, or anything else, this feedback guides your technician in addressing specific issues during the adjustment process.
#SkiGoals
Let the technician know about your aspirations on the slopes. Whether you’re progressing to more advanced trails or fine-tuning your skills, sharing your skiing goals will help technicians set up your bindings in a way that supports your evolving needs.
What are DIN Settings?
What is the DIN setting and how is it calculated?
The DIN setting refers to a standard for all ski bindings. Its value corresponds to the force required for your boot to be released from the binding when you fall. The higher the DIN setting, the greater the force required for the binding to release and free the boot.
A low DIN setting is best for beginner skiers. This will allow the ski to release more easily in the event of a nasty spill, which could save you a lot of knee injuries. Skiers who are able to ski on advanced terrain, or those who do jumps, will prefer a high DIN setting since they exert more force on their skis when skiing downhill or jumping.
In addition to skill level, the skier's weight and height influence the DIN setting for ski bindings. There are a number of online calculators to help you determine your DIN setting. When in doubt, keep in mind that the value is adjustable.
We recommend starting with a slightly lower setting to avoid injury in case of a fall, and increasing the resistance as needed. However, it is important to have a rough idea of your own DIN setting when shopping for ski bindings. Since each binding has a range of settings, you should choose one with a scale that places your DIN setting in the middle.
Do My Skis Need to Be Readjusted Every Year?
One common question is whether ski bindings require an annual readjustment. The short answer is, it depends. Several factors come into play when determining the frequency of binding adjustments, including:
- Manufacturer recommendations
- Changes in your physique
- Skill progression
- Skiing conditions
- Changes in equipment
While annual readjustments are not a strict rule, staying attuned to all of these changing factors is critical. As a heuristic, get into the habit of performing frequent visual inspections and functionality tests. Look for abnormalities like loose screws or damaged parts, and check the performance of components like brakes and levers.
All that said, regular check-ins with a certified tech can help maintain the integrity of your bindings and provide peace of mind. Remember, when in doubt, consult a pro!
How to Mount Your Own Ski Bindings
In this section, we discuss how to mount your own bindings. Despite all of our warnings to the contrary, we’d be remiss not to give those more experienced DIY skiers a roadmap. What follows is a brief guide to taking matters into your own hands.
Skis With Integrated Bindings
NOT SURE ABOUT DRILLING? CHOOSE SKIS WITH BINDINGS ALREADY MOUNTED!
Many all-mountain and downhill skis are sold with bindings already attached. This makes it easier for you to choose a binding that matches the type of ski you’re buying. Once the bindings are installed, all you have to do is adjust them by sliding the heel and toe piece on the rails according to the length of the sole of your boot.
INSTALLING YOUR SKI BINDINGS
- Place your boot on the binding, making sure the front of the boot is pressed into the toe piece.
- Unlock the heel piece of the binding by lifting the brake arm and slide the heel piece onto the rail until it is in contact with the rear of the boot.
- Release the locking mechanism and you’re done!
Make sure the binding is secure and won’t move and check the fit by releasing and then engaging the boot. There should be no play between the front and back of the boot and the binding.
Skis Without Integrated Bindings
STEP 1: INSTALLING AT HOME OR AT THE STORE?
Before you start installing your bindings on your brand new skis, it’s important to ask yourself if you have the know-how to mount your bindings yourself, or even if you have the right tools at hand. If the answer to either of these questions is no, leave the job to a professional. It can cost between $10 and $50 (depending on your installation type) to have your bindings mounted and adjusted in a ski shop.
For those looking for flexibility and convenience, consider using binding freedom inserts. These inserts allow you to easily swap bindings between different skis, providing a robust and aesthetically pleasing mount.
Ski binding installation is not to be taken lightly. The binding is the device that allows you to control your skis while skiing. Poor installation or fit could result in serious injury. Also, keep in mind that a home setup could void the binding manufacturer’s warranty. Please read the warranty sheet carefully before doing the installation yourself.
STEP 2 : BINDING POSITION ON THE SKIS
All skis have one or a few markings indicating where to position the binding. As a general rule, the center of your boot should be one, two, or three centimetres from the center line marker on the ski. You should see a center marker engraved on the underside of the boot sole.
For both novice and powder skiers, the standard binding position is slightly behind the center of the ski. This has the advantage of providing better stability and easier floating in deep snow. Snow park skiers who make sharp turns or want to change direction extremely quickly prefer a more central position on the skis.
STEP 3 : DRILLING AND MOUNTING PROCESS
In theory, installing bindings is a simple process. All you have to do is drill holes in the skis, add a little glue and screw the bindings in. Using masking tape for marking critical dimensions can help avoid damaging the ski surface. First, you need to make sure you put the toe holes in the right places and drill to the right depth.
Be careful not to drill through your new skis! Specialised technicians use the manufacturer’s templates and special drills that don’t go through the ski. The size of the drill varies depending on the composition of your skis: are they made of wood, composite or do they have a metal core?
Once the center mark of the boot is aligned with the mark of the ski, the manufacturer’s template is used as a guide, so the holes are correctly placed according to the length of your boot. After the holes have been drilled and cleaned, ensuring all the holes are free of debris and drilled to the correct depth is crucial. You can then add a little glue to hold the binding screws firmly in place. When the glue has dried, you are ready to adjust your bindings!
How to Adjust Your Own Ski Bindings
1. Adjust Your Ski Binding to Your Ski Boot
The first step to adjusting your ski binding is to find the millimetre length of your boot. This measurement is usually engraved on the side or the heel of the boot. It’ll allow you to adjust the front part of the binding.
All bindings have their own adjustment system, but there is typically a tab or latch-like mechanism that allows the binding stopper to slide to the measurement that corresponds to the length of the boot on the measurement scale.
The same adjustments should be made on the back of the binding. Again, use the tab to unlock the device, and slide the binding to the gap corresponding to its size.
To check the fit, enter the front of the boot into the binding and then the back by pressing down on the boot. The boot should snap on easily and both ends should be securely held in place in the binding.
2. Adjust its trigger value (DIN)
To adjust the release value of the bindings, use a Phillips screwdriver to shift the values by tightening or loosening the tension. This adjustment is located on the front and back of the binding and looks like a gradual scale.
The values correspond to the release force of the binding: the higher the number, the less easily the binding will release the boot in a fall. Be careful with the value you choose and don’t hesitate to ask a professional for help.
Choosing the Right Ski Bindings
Choosing the right ski bindings for your ski boot is a critical decision that requires careful consideration. Here are some key factors to consider:
Boot Sole Length: Ensure that the binding is compatible with your boot sole length. Most bindings have a specific range of boot sole lengths that they can accommodate.
Ski Boot Type: Different ski boots require different types of bindings. For example, all-mountain boots require all-mountain bindings, while racing boots require racing bindings.
Skiing Style: Consider your skiing style and the type of terrain you will be skiing on. For example, if you ski aggressively, you may require a binding with a higher DIN setting.
Mounting Point: Consider the mounting point of the binding on the ski. Some bindings have a fixed mounting point, while others allow for adjustable mounting.
Binding Screws: Ensure that the binding screws are compatible with your ski and boot.
By considering these factors, you can choose the right ski bindings for your ski boot and enjoy a safe and enjoyable skiing experience.
FAQ
Q: Is it easy to mount ski bindings?
A: Binding installation on skis is an important aspect of your safety on the slopes. A ski binding that is not properly adjusted is likely to release your boot too easily or fail to trigger in the event of a fall.
Both of these scenarios can be dangerous and lead to injury, so it's important to know what you're doing and to have the right tools on hand before you start installing ski bindings at home. If you have to ask this question, you’re better off visiting a certified specialist!
Q: Can I install ski bindings by myself?
If you are qualified, experienced, and have the right tools, you can do it yourself. If not, have a certified technician install the bindings and adjust them.
Q: Where should the ski bindings be positioned on the skis?
A: All skis have a centre mark to determine where to position the binding. Depending on your skill level and the type of skiing you do, you may want to place your binding directly in the centre, or slightly to the rear of the centreline of the ski.
Q: Do I need ski boots to install bindings?
A: Yep, your boots determine the length and location of the binding on the ski. While all ski bindings are adjustable up to a certain level, all makes and models of boots are different and the binding must be installed and adjusted accordingly - it's important to have your boot on hand during installation.
Q: How much does an in-store installation cost?
A: The price of an in-store ski binding installation is approximately $50. Most ski shops offer the installation along with the binding adjustment.
Q: Can I mount new bindings on old skis?
A: Yes, it is possible to install new bindings on skis that have already been drilled to accommodate different bindings. However, you will probably have to drill new holes in your skis to accommodate the new bindings. It is not recommended to drill the ski more than twice, as the holes will weaken the structure of the ski.
Q: How long does it take to get ski bindings installed in the store?
A: To avoid waiting too long, go to the shop with your skis, bindings and boots as soon as you buy your equipment, and do it before the start of the ski season. Waiting times are often longer as the season approaches, so we recommend you plan ahead. It usually takes a day or two to get your bindings installed and adjusted on your skis.
Q: How do I choose ski bindings?
A: There are different types of bindings for different skiing styles. Once you have determined what type of skiing you want to do, you should choose your binding accordingly. Also, make sure that the binding model you buy is compatible with your boot. Keep your DIN setting in mind as well: the adjustment value of the DIN setting should be in the middle of the adjustment range offered by the binding. To learn about the different types of bindings and how to choose a ski binding, read our article on the subject.
Elevate Your Skiing Safely, With Altitude Sports
This season, put safety on the slopes by avoiding the risks of self-adjusting ski bindings. Take the time to understand DIN settings, perform safety checks, and entrust the experts with the hands-on work. Ski binding professionals are there to ensure your gear always aligns with your needs, minimising risks for a more enjoyable skiing experience.
Now, for the fun part: For all your premium ski bindings needs, we’ve got you covered. Shop now and make every descent unforgettable!